How to install a rain chain
In most cases it takes no tools at all. Here's the whole job — from unboxing to first rainfall — including the one upgrade worth making.
Every chain we sell arrives with its own hanging hook. For the simplest install, remove your existing downspout (most conventional downspouts come off with a screwdriver), then set the hook down into the gutter's outlet hole and hang the chain from it. That's genuinely the entire job — water follows the chain down instead of the downspout.
The best-practice install: the Gutter Installer
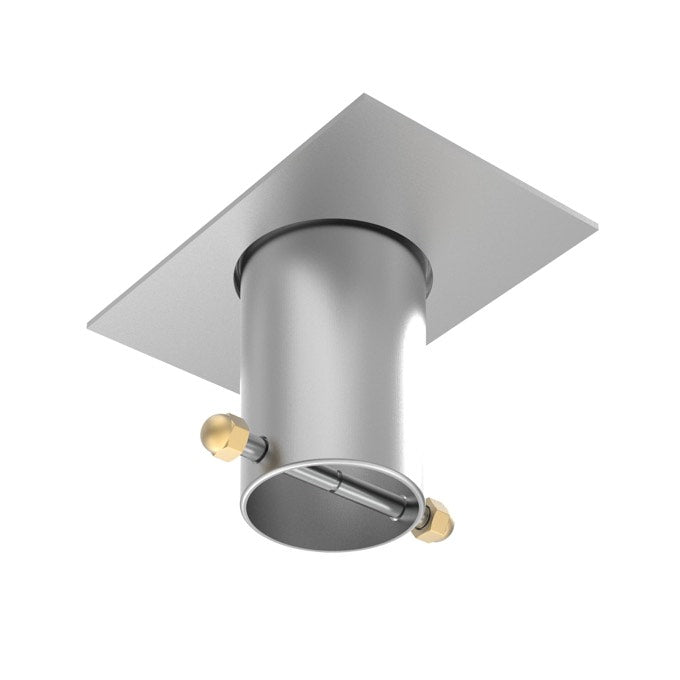
The stock hook works well, but for the strongest, cleanest connection we recommend the Gutter Installer — a fitted piece that seats into the gutter outlet, focuses the water stream onto the top of the chain, and bolts the chain in place. It's the right call in windy spots, cold climates, and any install where you've extended the chain with added length.
-
Remove the nut and bolt from the Gutter Installer
One bolt runs through the piece — back it out and set both parts aside.
-
Seat the Gutter Installer into the gutter's leader hole
It sits down into the outlet where your downspout used to be.
-
Thread the bolt through the piece and the top of the chain
The bolt passes through the Installer's holes and catches the chain's first link.
-
Secure the bolt back onto the nut
Snug it down and you're finished — the chain now hangs from a bolted connection instead of a hook.
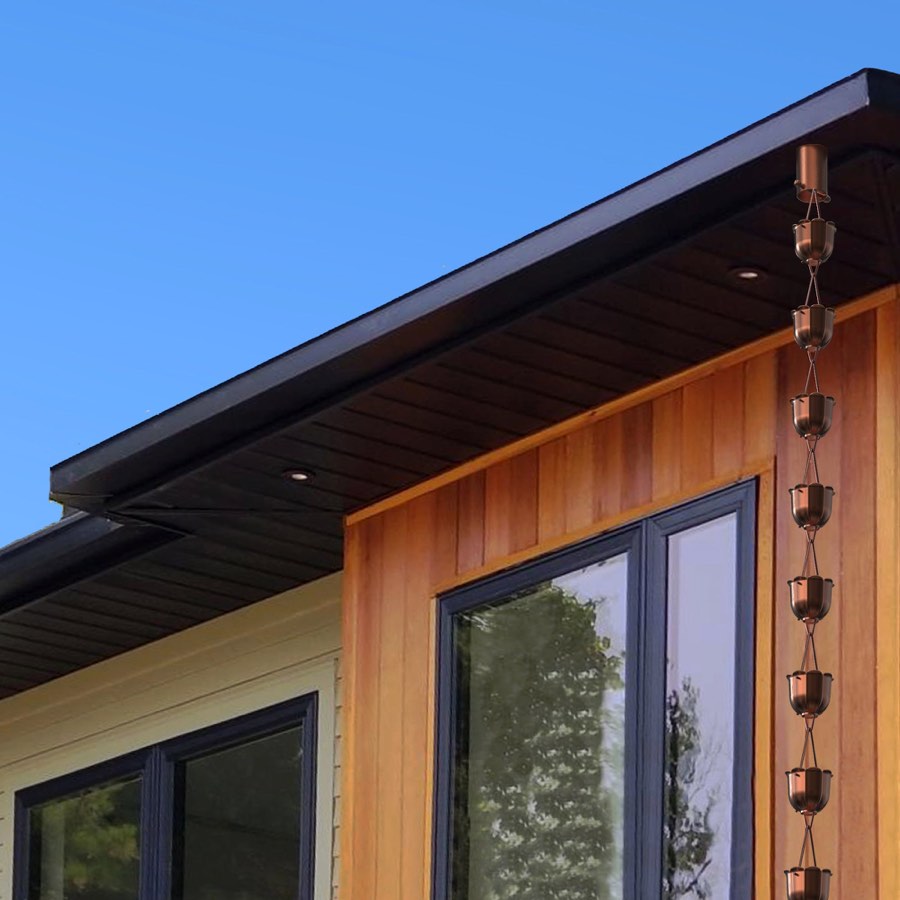
Rain chains handle winter fine, even in hard-freeze country. The one caution: ice adds weight, and heavy buildup can overload the stock hanging hook. If you get real winters, use the Gutter Installer — the bolted connection carries the load. Some customers take chains down for the season; plenty leave them up for the ice sculptures.