

Window Boxes - A Quick DIY Guide
Window Boxes - A Quick DIY Guide
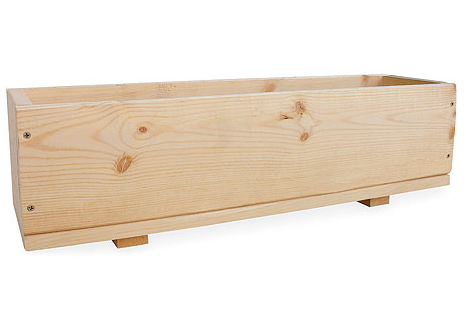
Knowing how to build a window box is useful whether you livein a small space with no yard, have no garden space or simply want to beautifyyour windows naturally. A windowbox only takes a little planning and can be built with materials from any localhardware store. In a few easy steps you can add an accent to your living space thatwill provide years of beauty and productivity.
You will need to custom design your window box, which iseasier than it sounds. Just measure the entire width of your window frame: thatequals the length of your box. Chooseweather-resistant timber like redwood, teak, mahogany or cedar, about 1 inchthick. Cedar is probably the best choice since it is plentiful, reasonablypriced and decay-resistant.
Cut your wood or get it pre-cut to the dimensions youdesire. When cutting the sides, back and front, consider a window box depth ofat least 7 inches. This assures retention of moisture in the soil for severaldays. Cut the end pieces as wide as the stock plus 1 ½ inches to assurecoverage of the front and back edges.
To put your window box together, you will need standard woodglue and either flathead brass wood screws or treated nails. Make sure the backpanel is butted against the bottom panel, and then apply a bead of glue alongthe edge of the bottom panel. Drill small pilot holes every four inches alongthe joint line. For 1-inch-thick wood you’ll be using 1 ¼-inch screws, whichmeans your pilot holes should be 11/64 inches wide. (If you have some carpentryexperience, you can avoid drilling pilot holes and follow the same steps usingnails, which will take less time. But wood screws assure a more solid structurewhich is better for inclement weather and movement, should you need to relocateyour window box.)
Fasten the back to the bottom with the wood screws. Thensecure one side to the back and bottom with glue. Drill pilot holes in the faceof the side piece, one hole at each end and one between top and bottom, andsecure with wood screws. Then simply repeat these steps for the front and thenext side. Don’t forget to drill holes for drainage, ½ inch wide every fourinches along the bottom, if you’re planting items that need regular watering.
Enjoy!
