

How To Make A Rain Chain
How To Make A Rain Chain
This following instructions are for those who would like to try and make their own rain chain. These instructions and photos are provided courtesy of Chris Haan .
Here are the materials you will need:
- Approximately 6’ of #4 copper wire per 10" of chain.
- Lead free solder
- Flux for lead free solder
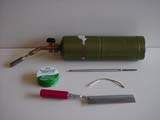
Here are the tools you will need:
- propane torch
- file
- saw for use with non-ferrous metal
- a 2 3/8" (or close) diameter pipe – 6" or longer
- gripping vice
Steps:
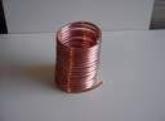
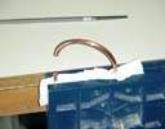
First, you make the links of the chain by developing the rings. Each link is comprised of two rings Next, you wrap the copper wire around the pipe, which will resemble a giant “spring-lookingobject” to form the rings. It is important to keep the rings close together to keep them from being misshaped so they will make a perfect circle. As you wrap the wire around the pipe, you can drill a hole near one end and place the wire into the hole.
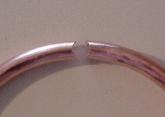
You then cut the spring into separate rings;. A good saw to use for this is an Excel brand hobby saw since the blade is so thin. This type of blade makes a smooth cut and removes very little material which helps the rings stay true to shape.
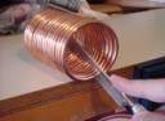
Removing rings from “spring”
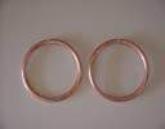
Two rings that have been cut.
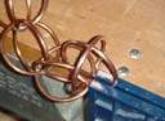
After the rings are cut, the ends should be filed into a semi-circle so a tight joint is made so the cut ends will meet the middle of the opposite ring. To keep the surface of the ring from being scratched, you can clamp the rings in a bench vise covered with a cloth. Move one side of the ring up and file the groove in the end of the ring. Try to use care in bending the ring as to not cause the ring to be misshaped.

One end bent so ring is clamped in vise.
Ring in vise showing ring bent out of file path.
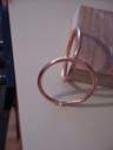
Picture of ring ends after filing.

You then cut the spring into separate rings;. A good saw to use for this is an Excel brand hobby saw since the blade is so thin. This type of blade makes a smooth cut and removes very little material which helps the rings stay true to shape
Removing rings from “spring”
Back to Rain Chains
